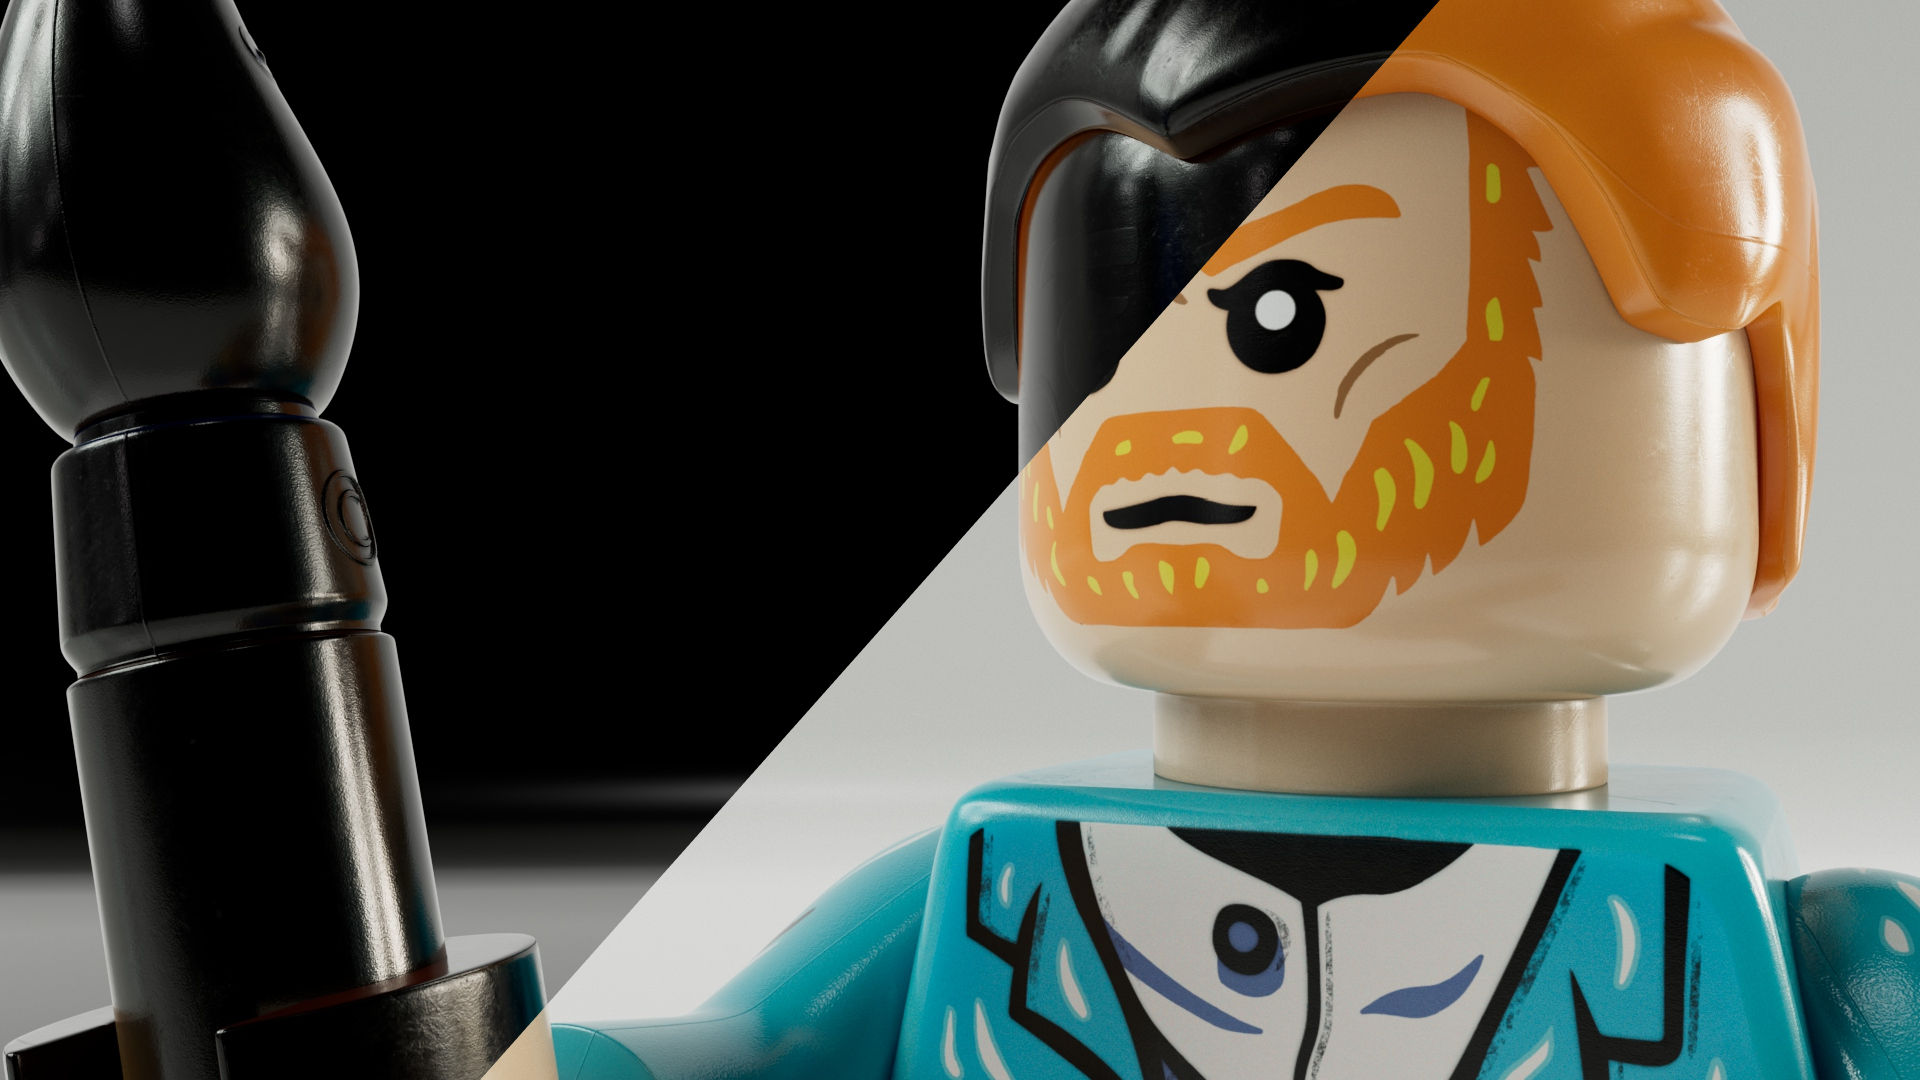
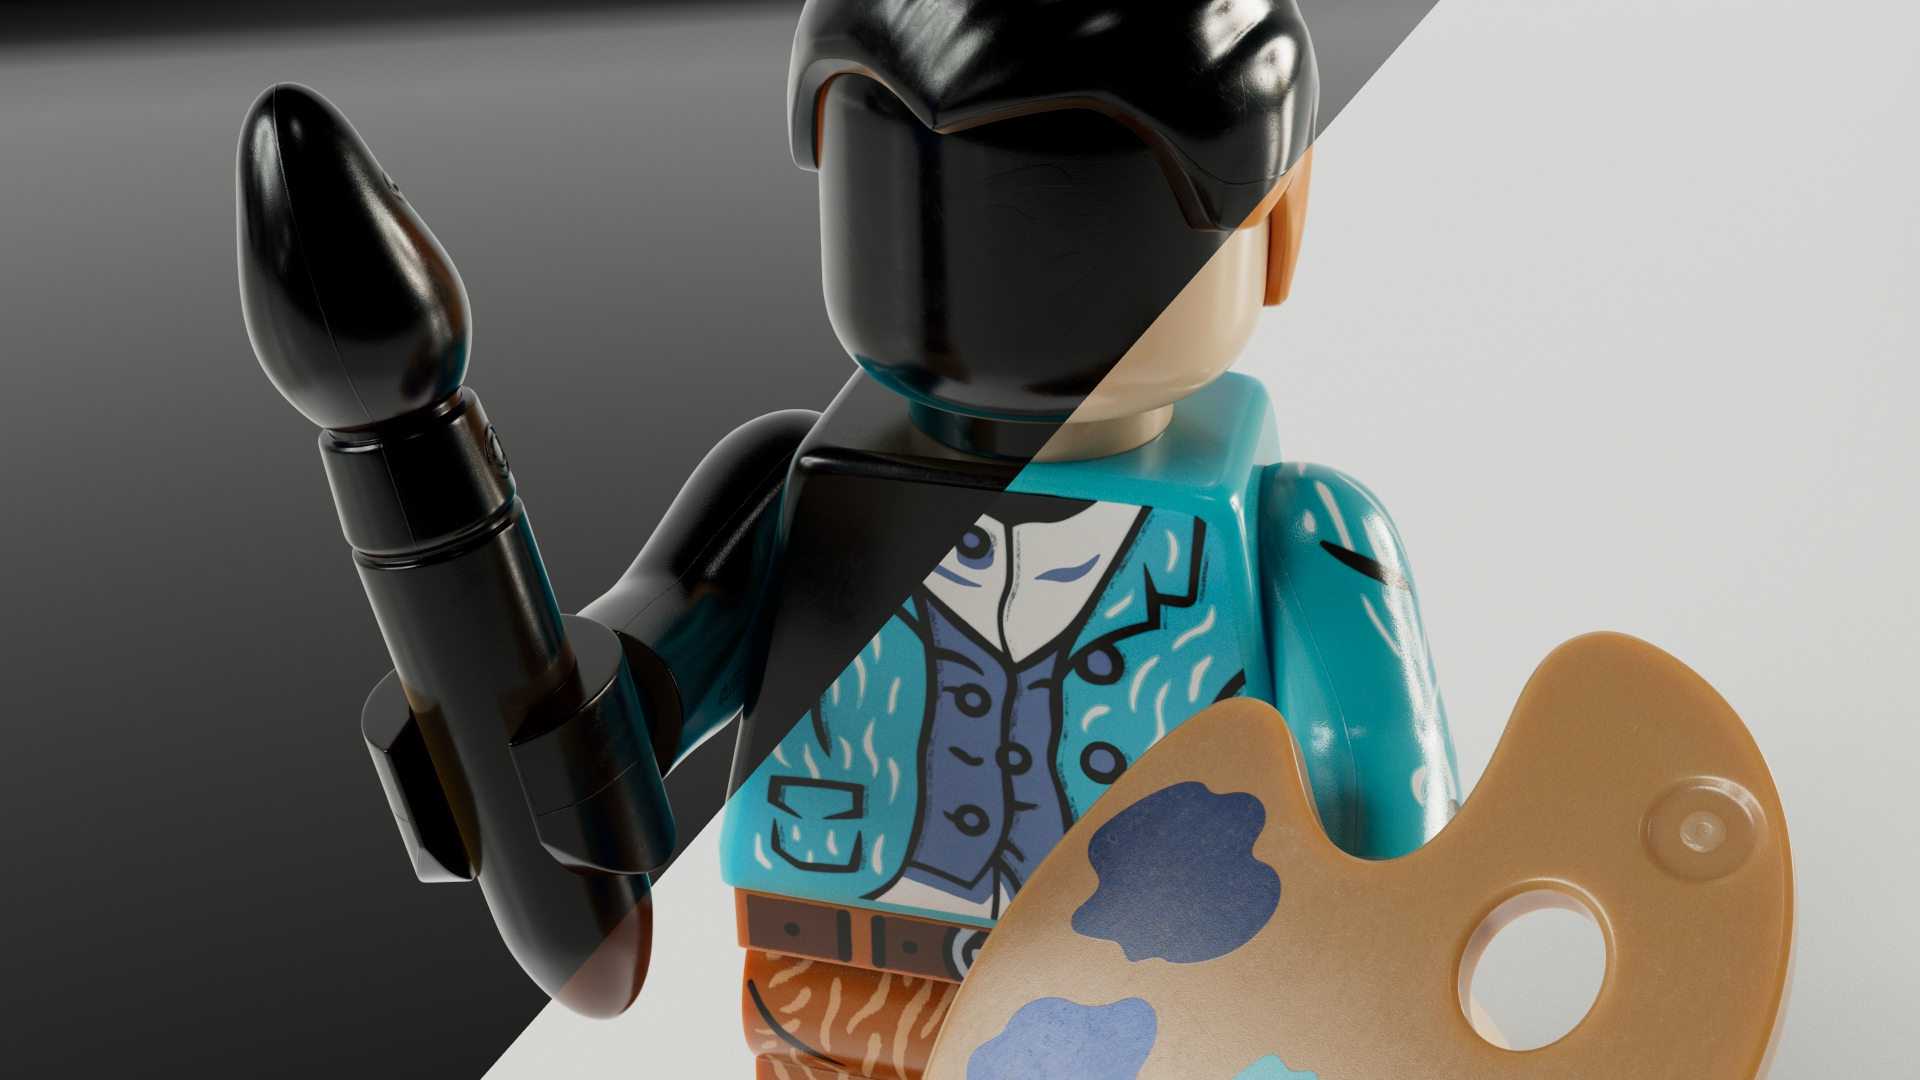
A couple of months ago I got my hands on the new Starry Night LEGO set. It came with a super cool Vincent Van Gogh minifigure that I thought would make a great reference object. It's a nice hard-surface model with some interesting curvature and topology, if you look close enough. Plus it's an object that showcases the intersection of my interests in painting, LEGOs, and 3D art. A win-win situation.
My goal with this project was to get as realistic as possible (within the constraints of the somewhat limited computing power at my disposal). I was aiming for a "film quality" asset, not a game/real-time asset, with PBR textures. I also wanted to remind myself how to do some offline rendering (I used Arnold for this) as well as learn how to use UDIMs to capture a greater amount of detail in the textures. I heavily used this post from Timothée Maron on Artstation, and the accompanying blog, as reference and inspiration. I thought the work he did on his minifigure study was phenomenal and I wanted to try something similar!
Each component is fully modeled as an independent piece, so that you can arrange and look at the model from all directions. Since each piece is also UV'd into a separate UDIM, it is also feasible to use pieces from this minifigure with pieces from other minifigures.
For this turntable, the explode motion was something I built into the basic rig that I gave the minifigure. I simply set up a single rig controller that uses expressions to drive the translation of each individual piece.
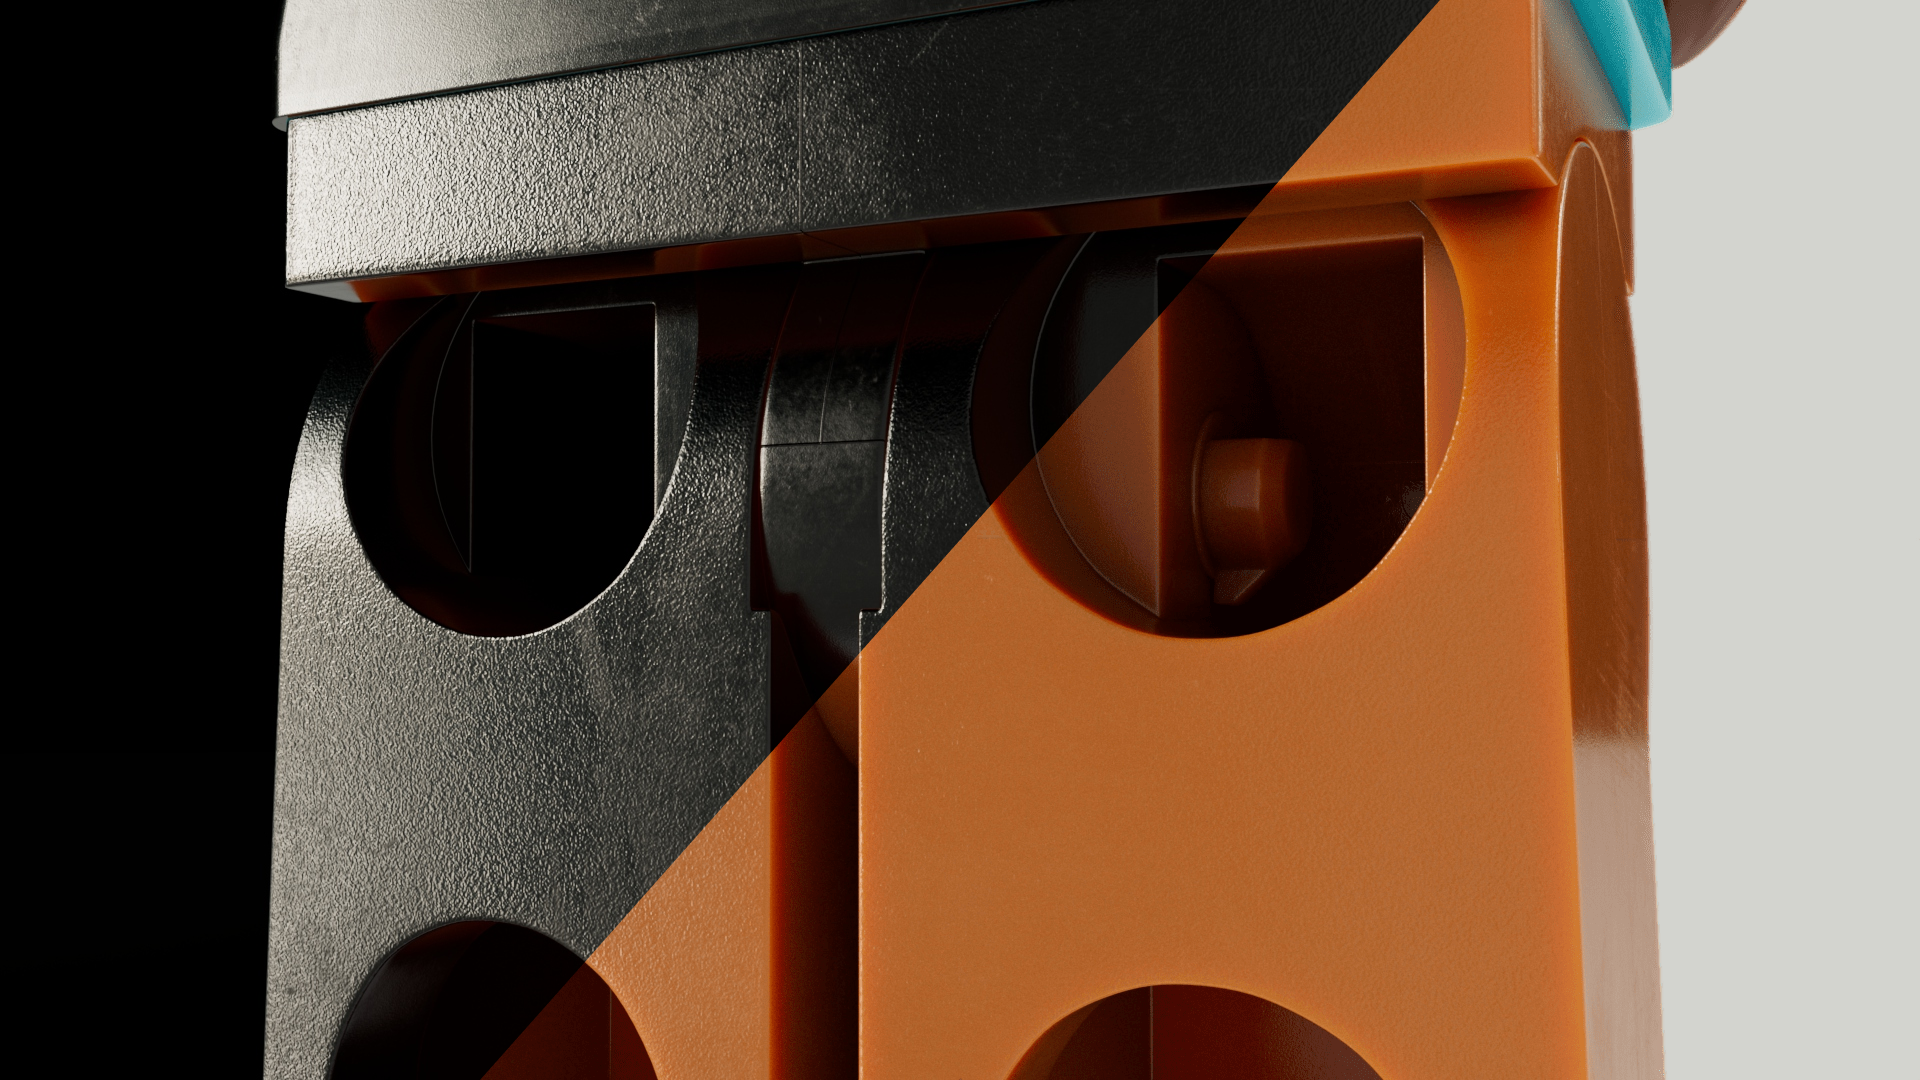
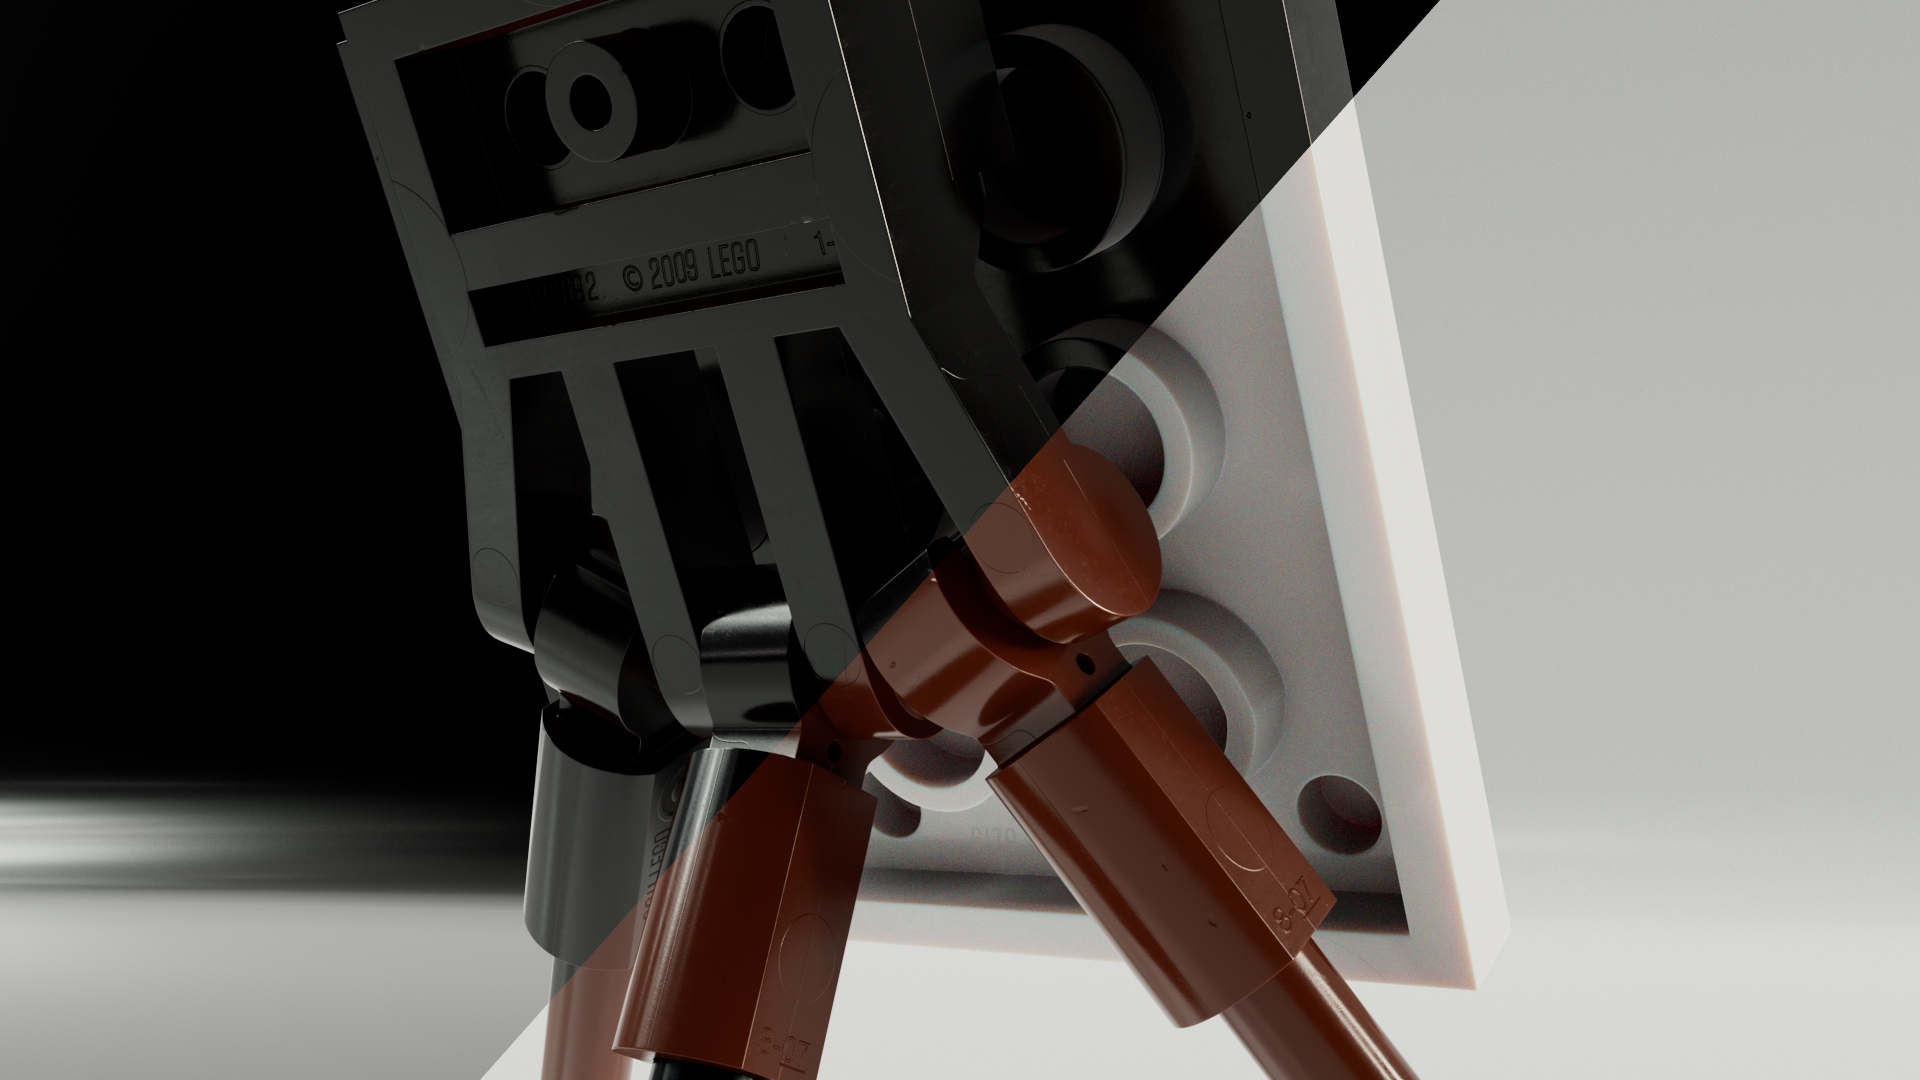
For texturing, I utilized the basic maps of base color, roughness, normal, and metallic. I also used displacement maps for the details like text, product numbers, and seam lines. Since LEGOs are made of plastic, I also introduced some subsurface scattering. Much of my texturing strategy is the same that is explored in the linked blog post. I used Illustrator to create the decals and pattern for the face, clothes, palette, and easel.
In these close ups you can see how the roughness, normal, displacement, etc. interact with the lighting to create interesting surface detail.


As for the model itself, it's a sub-D model that was smoothed for rendering. Since I was not creating a game asset, I only had the single high poly model that I was working with.
Here's my render compared to a reference photo I took. Although lighting and camera settings are not an exact match, it gives an idea of what I was looking at and how close I managed to get.
I gave the minifigure a basic rig, too, but I haven't gotten around to creating a short animation yet. I might come back to that when I have the time (and patience for rendering :))
Final Thoughts and Reflections
All in all, I am pretty happy with how this turned out. It's not perfect, but I have to remind myself often to not let perfection impede productivity or progress.
This project was also a great learning opportunity. Here's some of what I learned:
- I need to have a better plan of what my final product/output is. I did not do a good job of defining an end goal for this project, so it was hard to know when to call it "done." In the future, I need to explicitly outline a target (still renders, an animated video, a process breakdown, a realtime scene, etc.) that I can hit to consider something completed.
- It's important to consider hardware limitations sooner rather than later to avoid headaches down the line. I underestimated how using a UDIM workflow would significantly slow down Substance Painter on my computer. I also didn't have a realistic sense of how long my final frames would take to render, so I found myself having to compromise and create turntables at a much lower frame rate. Understanding the computing power available to me should help me outline my goals (see above point) better in the future.
- Along a similar vein, I learned that while using a UDIM workflow can be great for increased detail, it can be frustrating if you want to take anything into a realtime renderer or game engine. There was a point where I considered rendering in Unreal, which does recognize UDIMs, but it would have required compromises and sacrifices I was unwilling to make just for faster rendering.
- I enjoyed getting more practice looking really closely at a reference object in order to match details in 3D. I also was able to practice experimenting with which details should be in the model itself versus a displacement map versus a normal map. I think of that as a skill that comes with time and practice, and with being deliberate about observations.
- Another important thing I learned was it's okay to use existing resources wisely. Since LEGOs are such a popular item, there are a lot of resources about them out there. For example, I was able to use this site to look up the hex codes for brick colors as a starting point for my base colors. There is a site called BrickLink that also has part numbers and descriptions for each piece of the minifigure. If you're lucky, you can even download a low poly version of certain pieces. I learned that it's okay to use these resources, especially as guidelines. There is no shame in using open source information.
I really enjoyed creating this model. I alway love when I am able to physically see and manipulate the thing I am trying to recreate. I do have some other LEGO sets laying around, so maybe I'll tackle another, more complex one in the future!
